
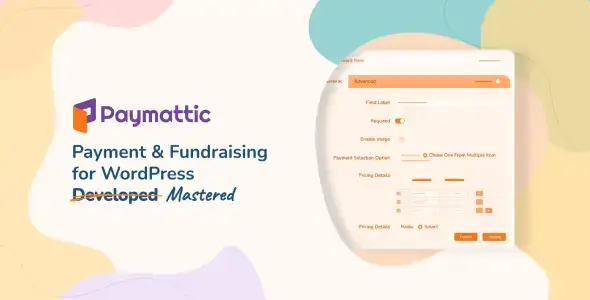
Paymattic Pro targets agencies and freelance developers tasked with building donation portals, lightweight membership sites, or LMS enrollment flows where deploying WooCommerce is massive overkill. Rather than dealing with session-based cart fragments and bloated checkout templates, this plugin handles direct transaction data collection and recurring billing through standalone forms.
Core Architecture and Capabilities
The plugin operates primarily as an advanced form builder hardwired to payment APIs. This eliminates the need to bridge a standard form plugin with a secondary premium payment add-on.
- Broad Gateway Support: Integrates directly with Stripe, PayPal, Square, Mollie, Razorpay, and Paystack for global and localized processing across 157+ currencies.
- Native Subscriptions: Handles recurring donation cycles and subscription billing inherently, pushing tokenized data to the gateway without requiring extra extensions.
- Direct CRM & Webhook Routing: Pushes transaction payloads to FluentCRM, ActiveCampaign, Google Sheets, or generic webhooks. This bypasses the need for Zapier middle-layers in straightforward setups.
- LMS Enrollment Sync: Fires enrollment actions for LearnDash, Tutor LMS, and LifterLMS upon successful webhook verification from the payment processor.
- Front-End Dashboards: Generates a client-side portal for users to review subscription statuses and download generated PDF invoices directly.
- UI-Driven Form Builder: Uses a proprietary drag-and-drop interface for conditional logic and custom amount calculations, independent of the active theme’s block editor.
It is critical to note what this system does not handle. Paymattic is not a shopping cart replacement. It lacks physical inventory state management, shipping calculators, and multi-product cart persistence. If a project requires variable product stock tracking or complex automated tax compliance based on geolocation, a dedicated e-commerce engine remains necessary.
Deployment Scenarios
The infrastructure is suited for NGOs requiring customizable donation tiers, agencies deploying single-product landing pages, and digital creators needing a frictionless checkout to bypass standard LMS cart steps. It performs best in single-transaction environments where speed to conversion is the primary metric.
Configuration and Technical Footprint
Setup revolves around providing API credentials for the selected gateway and outputting the generated shortcode to the front end. The builder includes pre-configured templates for standard flows, but fields can be assembled manually without touching code.
From a performance perspective, asset loading is handled conditionally. The plugin scripts and stylesheets are only enqueued on pages where the shortcode is executed, keeping the global DOM clean. Visual customization relies heavily on appending custom CSS classes to form fields within the builder UI. Because forms are rendered via shortcode, overriding core PHP templates in a child theme is not the primary customization route. Instead, developers will utilize action and filter hooks to manipulate payloads, intercept data during the payment success routine, or trigger external API calls. The backend logic is modular, ensuring inactive integrations do not poll the database or bloat PHP memory limits.
Frequently Asked Questions
Does the plugin impose per-transaction fees?
No. The plugin architecture enforces zero platform fees. Any transaction costs incurred are strictly dictated by the processing rates of the connected payment gateway.
Can developers implement custom payment gateways?
Yes, the codebase provides specific hooks to build and connect custom payment gateway workflows, though this requires writing bespoke PHP to handle the external API endpoints and secure callbacks.
How does it integrate with modern page builders?
Since the forms are compiled and output via standard WordPress shortcodes, they are agnostic to the front-end builder. They render correctly inside Elementor, Bricks, Oxygen, or native Gutenberg blocks.
Reviews
There are no reviews yet.